Showing posts with label Dutch pullout table. Show all posts

A Dutch Pullout Refectory Table


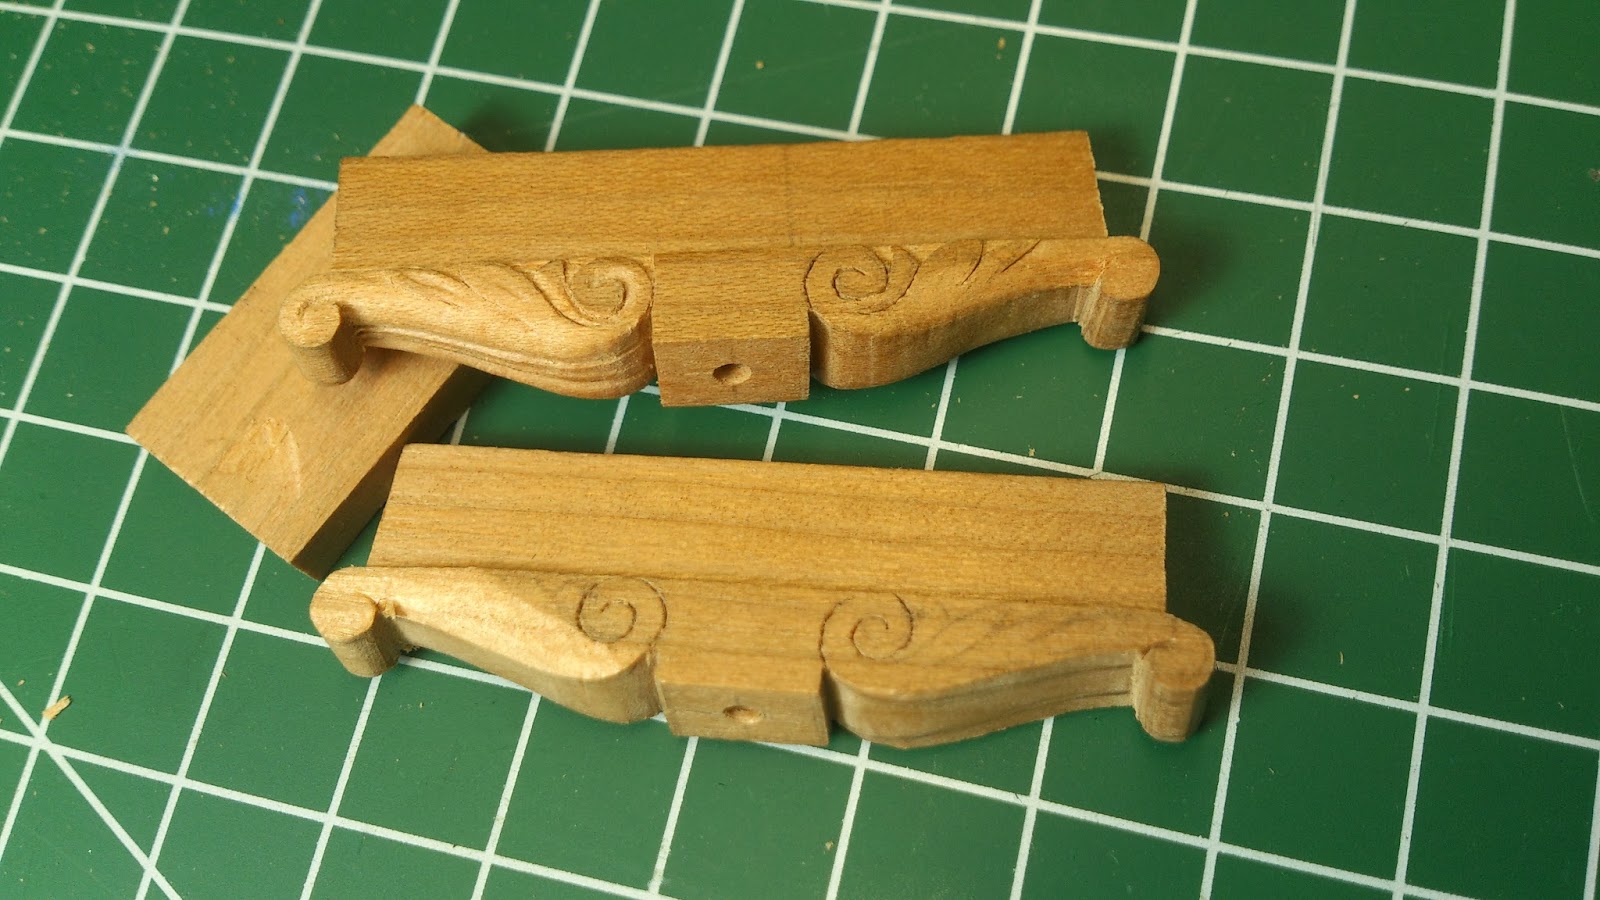
Hi! The other day i was really pleased. I'd finished the refectory table. But that final step didn't go as smooth as anticipated. I was at this stage i'd done all the carving, finished the main assembly and had the slide construction mounted. Making a test table before helped tremendously during construction and i'd avoided all the pitfalls i'd encountered back then. 

All that was left was to cut two holes in the base and 2 recesses in the underside of the main table top. Those would hold the brackets that keep the top attached to the frame. Somehow i'd not calculated space was more tight with this table and the slide stops were positioned a bit different cos of that. It turned out I'd cut them in ánd on the wrong side of the middle section. When i was done and test fitted i found out they interfered with the slides... argh! 


 The only option was to make a new middle section and reposition the holes. Ooh well, learned my lesson :) But after that, the mechanism run smooth and it could receive its final finishes. 


And here it is, next to its big brother. These pictures from an antique dealer in Great Britain were my sole reference when it came to the design. I'd already researched this type of extendable table. There i'd learned it's also called a 'Dutch pullout' table, but i haven't found a specific reason why it is referred to as Dutch. Thomas Sheraton described this mechanism as well in his Cabinet-Maker and Upholsterer's Drawing Book, calling it The Universal Table


 I really like this table for it's sturdiness when the leaves are retracted, and for how the leaves are stowed when they're not needed. You can even pull them out while the table is set, making it the perfect companion for anyone who has friends spontaneously dropping in :D 

ps. The color in the last few pictures don't match its real color (due to the back ground?) It's far more darker, the upper ones taken in the workshop represent the proper tone, making it a match with the original.


Thanks for your attention, have a wonderful weekend!

turning over a new leaf

Hi miniature friends!

First a warm welcome to my new followers. But ooh, i'm ashamed for being absent for so long. I'm sorry for not posting for a while, so...  let me try to make up for it.

Last post i ended with an antique Dutch pullout table i'd recently seen in the Rijks Museum in Amsterdam. My intention was to rebuild it in 1:12. So I took pictures and measurements & made a modern version to test the extending leaf mechanism. Also did lots of research, and that's when i decided to drop the initial choice and go for this refectory table:


It's also a draw-leaf or Dutch pullout table, but i found it's proportions and decor more appealing to make. With my understanding of the construction and mechanism under the belt and the pictures of the original i scaled out a plan. Some joints were unclear, but i could fall back on some period cabinet making books to figure them out. I decided for cherry as my choice of wood as it resembles the oak wood of which this 19th Century revival refectory table is made of best. 

Now that had i tested the construction with the mock up table, i also did a test piece on the carving. The cherry wood isn't as fine grained as pear, and, as i just purchased this new piece of stock, i wanted to get a feel for it before proceeding. Because even the same type of wood can behave different being from another plank or tree. The test helped with that, and also helped to figure out and finalize the design on the aprons. So then it was on to the build. 

First i had to cut up stock to the desired thickness. I'm so happy with some of my new tools. Recently i swapped my old bandsaw for an almost new Proxxon belt saw. That was a very good deal. But most chuffed I'm with the tools made by Jim Byrnes. His thickness sander can do a job in 5 minutes that used to take me over an hour (or more!) and mostly by hand. So no more elbow grease and so accurate too! Each time it's a real joy to work with!!


The base is formed by the aprons, with reinforced mitering and hand cut dove tails.


Carving them before assembly is easier.


The two melons shaped legs with their brackets.


Half way i put the pieces together so I could metaphorically stand back a bit and look at it that way. Not only do I find it fun to see it come together. But working up close on the individual parts can sometimes make me loose track, and this helps me to keep focus :)


I find dying the wood fun too, it makes all the carvings come to life. 


Past weekend i finished the base so now I can start work on the table top. Fortunately that won't take as much time as the carving, so i hope to get that done pretty soon. And then the only thing left is the sliding construction. That will be a fiddly job again, but i look forward to that. The satisfaction of pulling out the leaves and see it all work smooth will make it all worth while. 


So... that's what kept me busy. Ok, not done yet, but it's getting there :) Ooh, and i went to the annual dolls house fair here in Apeldoorn, Holland last weekend! Very nice to meet fellow miniaturists again, and to make new friends as well. There is some great talent out there! I mean, some offerings were exceptionally well done! All in all very inspirational.

Have a great day, and enjoy the small things in life,


and..... ACTION!

Hi,

I'm sorry it's been a while... After finishing the console table i went straight back to my work bench and haven't left it much. So that explains some of my absence. But now time is on my side and there's loads to show you. So here it goes;

First i'd never explained how the crest underneath the console table was made up. Because the legs came in under the top at set angles i could use those to make sure the crest would connect properly. So they were drawn out on a piece of stock. That, and putting up guide lines made sure the crest would be dead centre between the legs.


The carving was fiddly because it had a lot of piercings. When the crest was almost done it was attached to the legs with glue and dowels. The really last carving job was the connecting area between the crest and legs. 


And then it was onto one of the most satisfying jobs there is when making furniture. At least, that's my opinion. When the oil to seal the wood is applied you can see the color deepen as it sucks it up! Every time it gives such a buzz... it's like it is coming to life, like feeding a starved animal or watering a dried up plant. A real transformation! I've finished the table with more coats of various substances :) and made a sweet traveling box for it too. As i always do when pieces are for sale.


Then i went back to a project that had been on hold; door hardware. In particular lock shields (is that how you call them?) to accompany real working door locks. I was asked to carve various designs out of wax, so they can be cast later on. That way you can pick your own choice of design when you buy the door lock. 


I'm still getting to grips with the material, wax is so much different then wood!  But i love it, although half of my carving tools are useless with wax :)) It's a lovely project; these working locks are a really cool addition to any house, adding detail and dynamics! 


Talking bout dynamics; I love to see that return in scale furniture too. Alternating, folding or extending...  furniture you can adapt to the situation. It can be a sewing table with retractable fire screen... or just a chest of drawers you can pull out and play with :) I've made several folding chairs in the past and was researching extendable tables for a future project. There are some amazing pieces out there, that are engineering masterpieces! But next to impossible to figure out (plans of this table are very protected of course), let alone to rebuild in scale. But i did find a design by Thomas Shareton that i've adapted slightly. It's commonly referred to as a draw leaf table. 


I've started making a modern mock up table to see where the pitfalls lie in building this construction. Believe me, there are many...


The calculations & construction didn't allow room for error. Which did happen, of course :) But it was a stupid mis calculation so all i had to do was build new parts. Then it took a bit of fitting together, testing and taking it part again to adjust and make it work smooth. Some small parts like the pegs and stops i'de made out of brass. In the original they were made out of wood, but in this scale i figured that wouldn't be strong enough to take the action.


And here's the action :) 


I have to say, it was a great idea to build this test piece because i've learned so much. I can now confidently proceed to make a replica of an antique one i'd seen at The Rijks Museum about a month ago. I think some of you might recognize a certain bug in these pictures below?


On my knees, taking pictures and measurements, in a crowded exposition space...


Have a great day, and enjoy the small things in life,
Related Posts Plugin for WordPress, Blogger...